
Updated April 2026.
This article contains affiliate links. We may earn a commission at no additional cost to you if you make a purchase through these links. See our affiliate disclosure for details.
Luggage usually gets damaged in predictable places: check-in belts, baggage carts, stacking, rain, carousel collisions, and overpacked zippers. You cannot control every handoff, but you can make the bag easier to handle, harder to misplace, and less likely to fail at the weakest points.
The best protection starts before the airport. Pack lighter, contain liquids, photograph the bag, secure loose straps, and choose luggage that matches the trip instead of relying on one fragile sticker to save everything.
How Luggage Gets Damaged
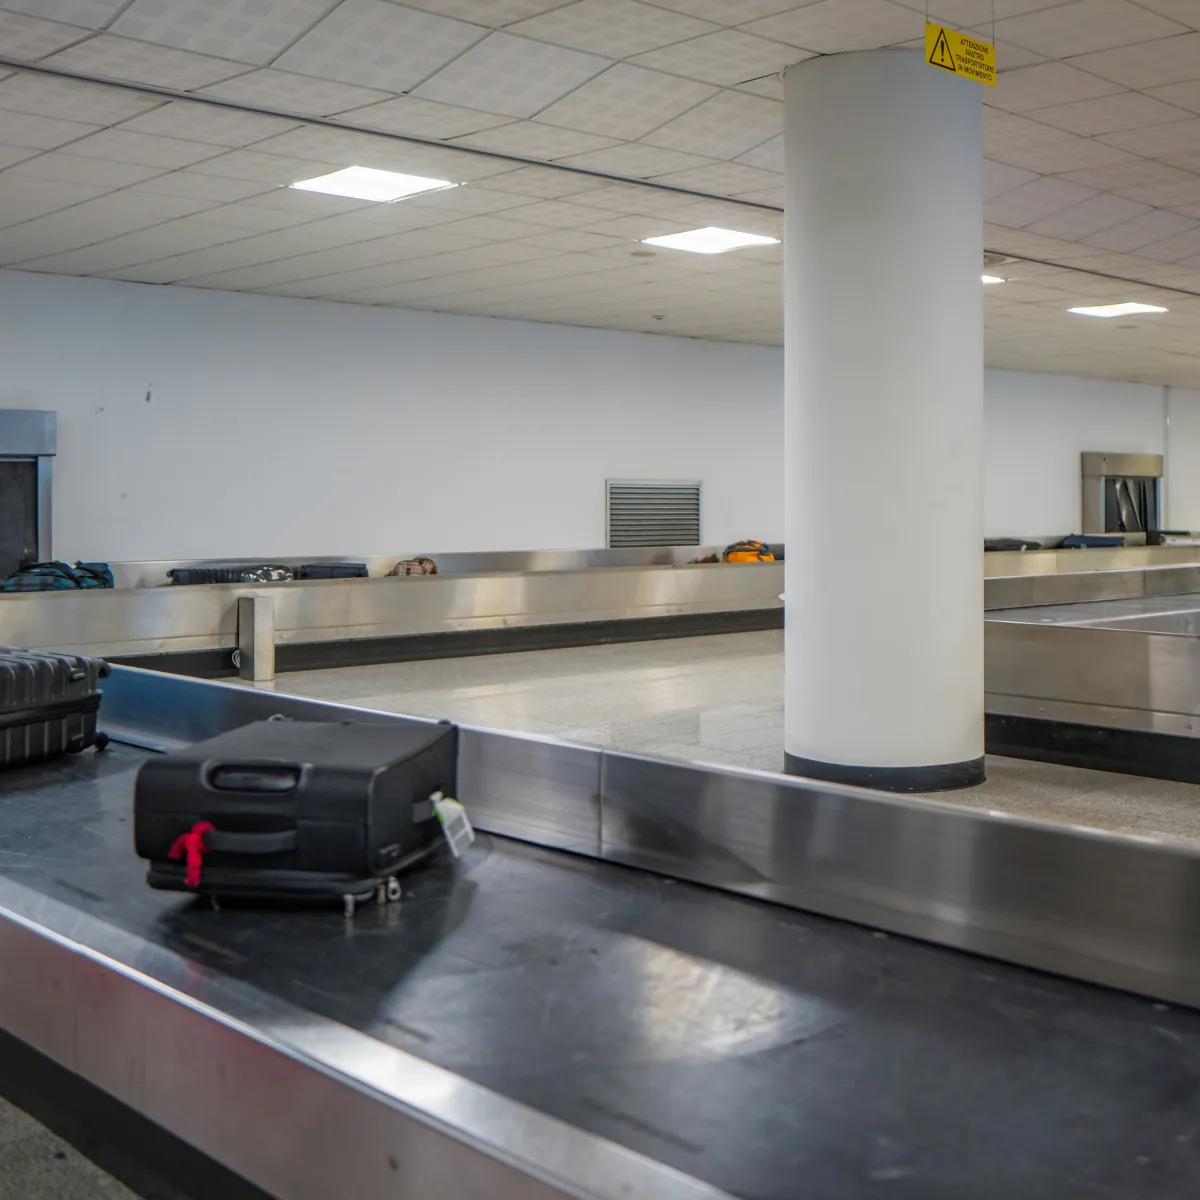
Most damage is not mysterious. Bags get dragged, stacked, dropped, rained on, squeezed into carts, and pulled from carousels by tired travelers. The weak points are usually wheels, handles, corners, zippers, seams, and anything liquid inside the bag.
Protect those points and you reduce the odds of the worst outcomes: cracked shells, broken wheels, torn fabric, leaked toiletries, and missing luggage reports.
Ways to Protect Your Luggage
Pack Lighter Than the Limit
Heavy bags are harder to lift, easier to drop, and more stressful on handles, wheels, zippers, and seams. If the suitcase is already straining at home, the airport will not make it kinder.
A portable luggage scale can help you catch the problem before check-in. Our guide to whether portable luggage scales are accurate explains how close you can reasonably expect them to be.
Choose the Right Bag for the Trip
A hard shell is good for shape and crush protection, but it can scuff and may crack under the wrong kind of impact. A soft case flexes better and often handles stuffing more gracefully, but it gives the contents less rigid protection. Our hard vs soft luggage guide covers the tradeoff in more detail.
For rough transfers, stairs, and mixed ground, pay close attention to wheels and handles. Those parts often fail before the main shell does.
Secure Loose Straps and Zippers
Loose straps can snag on belts and carts. Zippers can drift open if the bag is overpacked or pulled from the wrong angle. Tuck straps away, clip them down, and use a simple lock or zipper tie where it makes sense.
Carry a Small Repair Kit
A small repair kit will not make damaged luggage new again, but it can get you home. Duct tape is useful for a torn corner, split seam, or zipper area that needs temporary reinforcement.
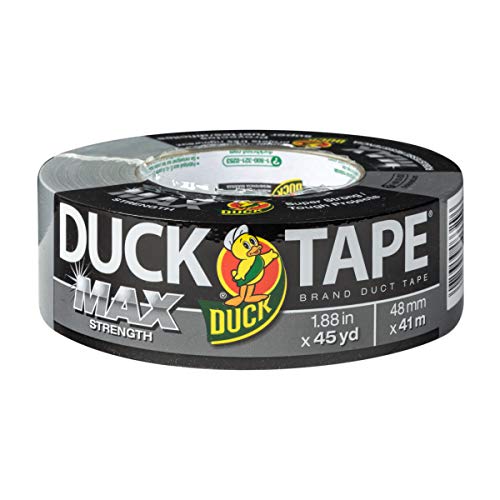
Gorilla Max Strength Duct Tape
A compact roll of duct tape is useful for temporary luggage repairs, from stressed seams to scuffed corners, until you can fix the bag properly.
$6.79 on Amazon, price may vary
Keep the repair kit small. Tape, a few zip ties, and a spare luggage tag are more useful than a bulky tool roll you will never carry.
Contain Toiletries and Liquids
Leaking shampoo can do more damage than a scuffed shell. Put liquids inside a toiletry bag, close bottle caps tightly, and separate anything oily, scented, or colored from clothing.
If you are packing perfume, sunscreen, or hair products, add a small backup barrier. A zip bag inside the toiletry organizer is boring, but it works.
Use a Cover or Wrap When It Makes Sense
A luggage cover can reduce scuffs, dirt, and light rain exposure. Airport plastic wrap can also hold a damaged or overstuffed bag together for one trip, though we would treat it as a backup rather than a default.
Do not wrap or cover a bag so heavily that staff cannot inspect it when required, identify it quickly, or access tags.
Make the Bag Easy to Identify
Use a luggage tag, bright strap, ribbon, or subtle marker that makes your bag easy to spot without making it look like a high-value target. The goal is to reduce accidental grabs at the carousel.
This is also where many packing mistakes show up: too many similar black bags, no tag, and no recent photo when something goes missing.
Take Photos Before Check-In
Take one photo of the outside of the bag and one photo of any existing damage before checking it. If the airline needs a description or damage report later, you will have something more useful than “medium black suitcase.”
Keep Fragile Items Out of Checked Luggage
Fragile stickers are not a guarantee. If something is truly fragile, expensive, medically necessary, or hard to replace, carry it on when rules allow. Checked luggage is the wrong place for laptops, camera bodies, heirlooms, medication, and important documents.
Ship Special Items Separately
For unusually fragile, oversized, or high-value items, shipping can be safer than checking them in a suitcase. It costs more, but it gives you more control over packaging and tracking.
Quick Luggage Protection Checklist
| Risk | Best Prevention |
|---|---|
| Broken zipper or seam | Pack lighter, avoid forcing the suitcase closed, carry tape or zip ties |
| Leaking toiletries | Use a zippered toiletry bag and add a backup pouch for liquids |
| Scuffed or dirty shell | Use a luggage cover or wrap when the route is rough |
| Broken wheel or handle | Choose stronger hardware and avoid overweight packing |
| Carousel mix-up | Add a clear tag, marker, or strap and take a current photo |
| Fragile contents | Carry on anything truly fragile or hard to replace |
You cannot make checked luggage risk-free. You can make it more resilient. Keep the weight reasonable, protect the weak points, contain spills, and make the bag easy to identify if something goes wrong.